
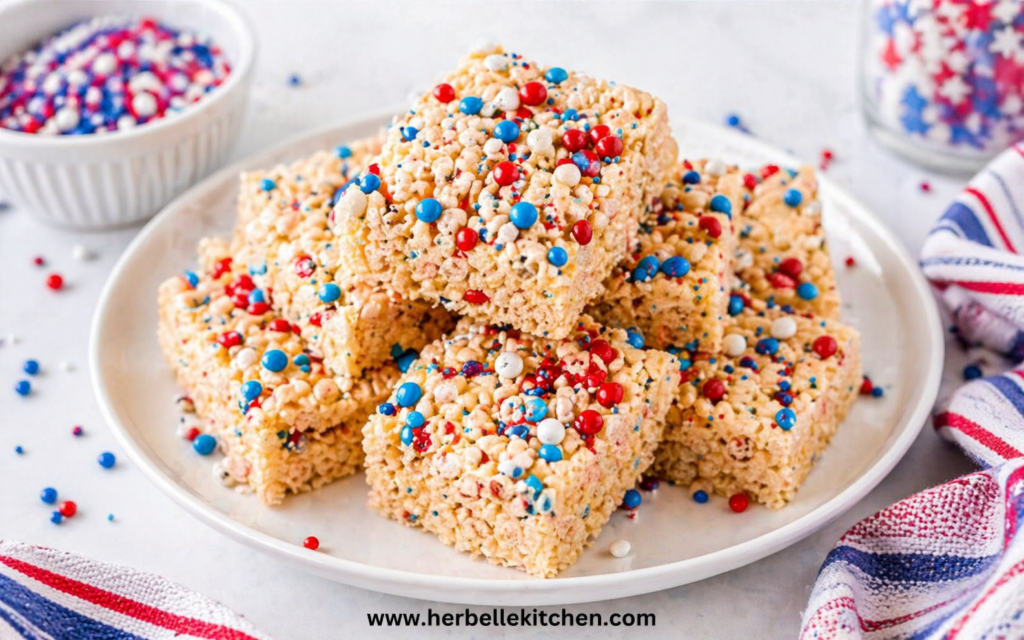
Fireworks popping, music playing, and a tray of colorful treats stealing the spotlight—now that’s how you do summer right. These Fourth Of July Sweet Treats take your classic Rice Krispie squares and give them a festive glow-up with red, white, and blue flair. Soft, chewy, and loaded with crunchy bites, they’re basically the life of any party table.
Let’s be real—plain desserts are fine, but why not make them fun? With bursts of color from candy-coated chocolates and a sprinkle explosion on top, these treats instantly upgrade your usual July 4 Treats lineup. And the best part? You don’t need to be a baking pro to pull this off. Simple recipe, big impact. That’s the vibe.
This recipe works because it sticks to a winning formula: the perfect balance of gooey marshmallow and crispy cereal. It’s one of those July 4th Dessert Recipes that people keep coming back for—soft in the center, slightly crisp on the edges, and impossible to eat just one. IMO, that texture combo alone deserves a standing ovation.
Want to make your dessert table pop? These treats fit right in with all your favorite Patriotic Baked Goods and festive snacks. Bring them to BBQs, picnics, or even pack them as 4th Of July Beach Snacks—yes, they travel well and disappear fast. Hosting multiple events? They double perfectly as Memorial Days Food or even casual Independence Day Treats for last-minute gatherings.
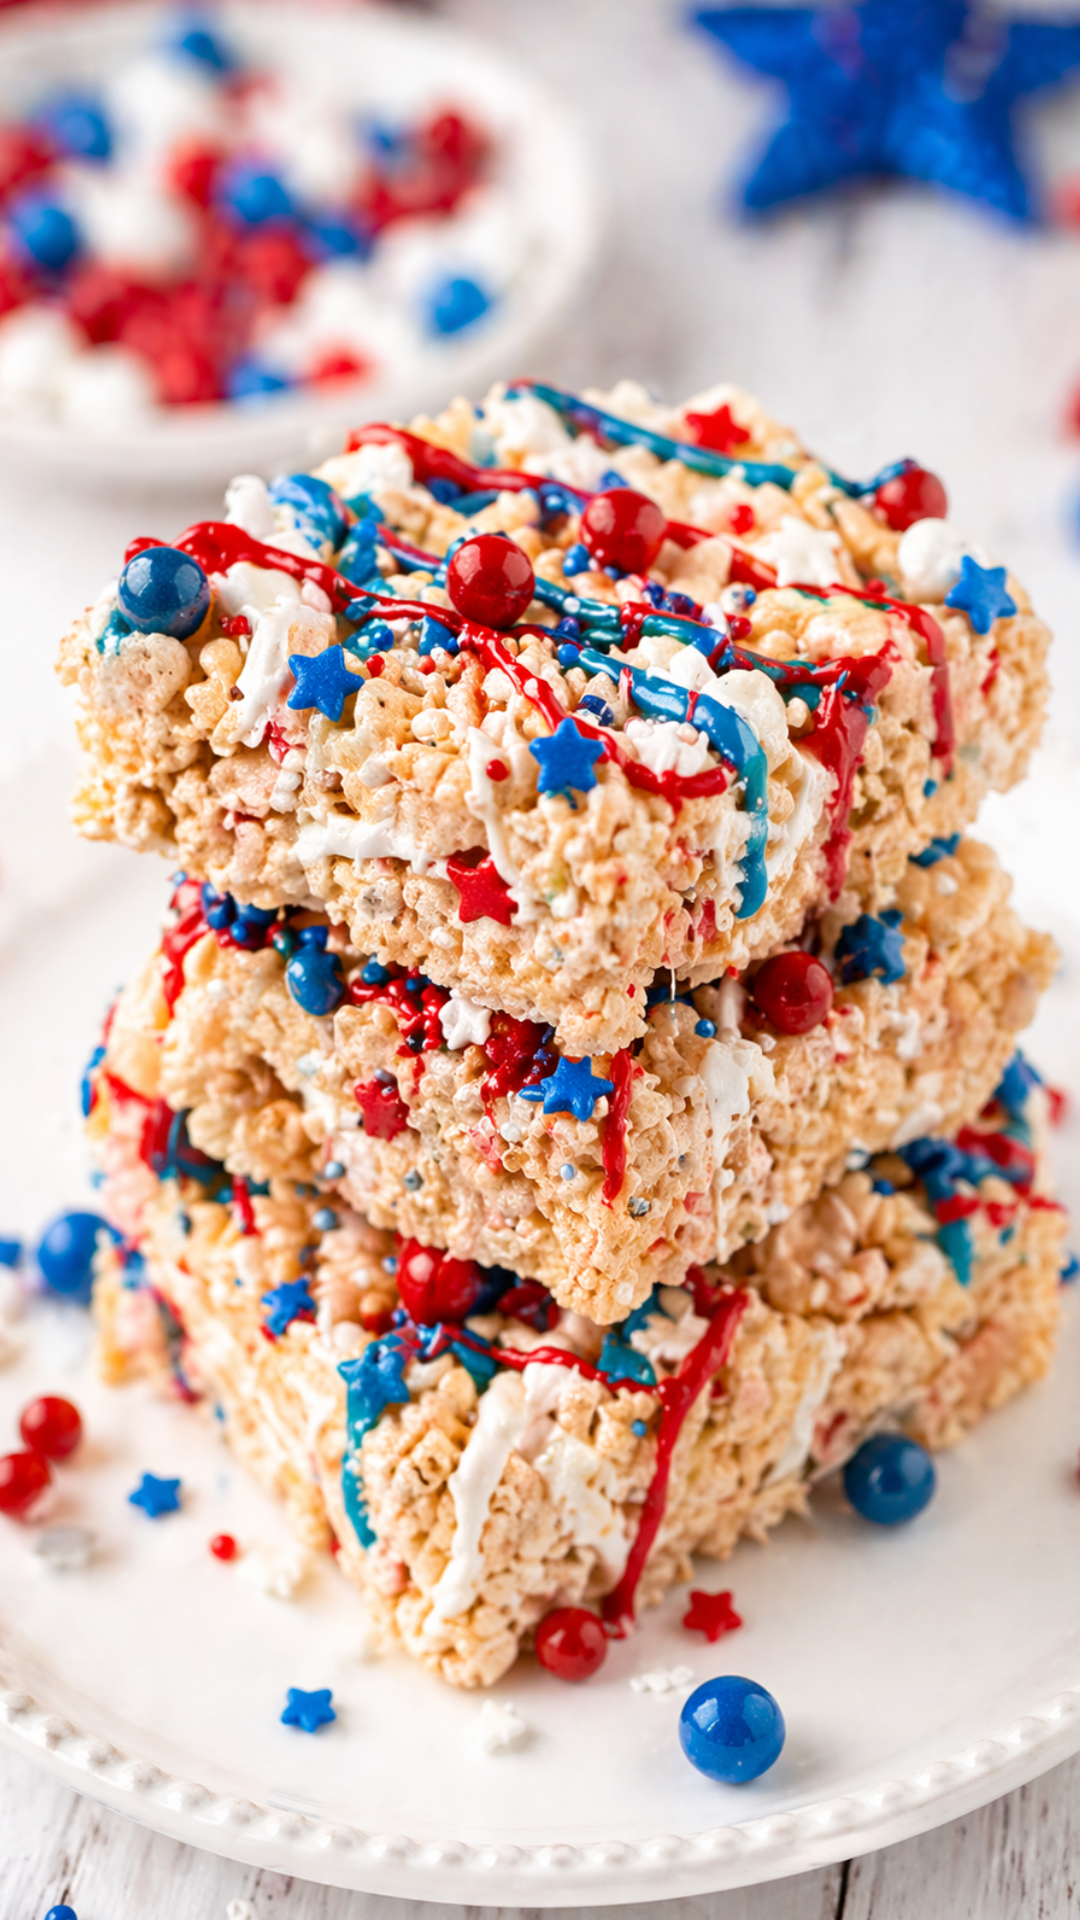
And let’s not ignore the glow-up factor. A drizzle of melted candy and a handful of sprinkles turn these into a full-on Desert 4th Of July showstopper. It’s almost too easy… almost.
So, whether you’re planning a backyard bash or just craving something festive, this colorful twist on a classic delivers. Because honestly, when it comes to Firth Of July Food, why settle for boring when you can have bold, bright, and ridiculously delicious?
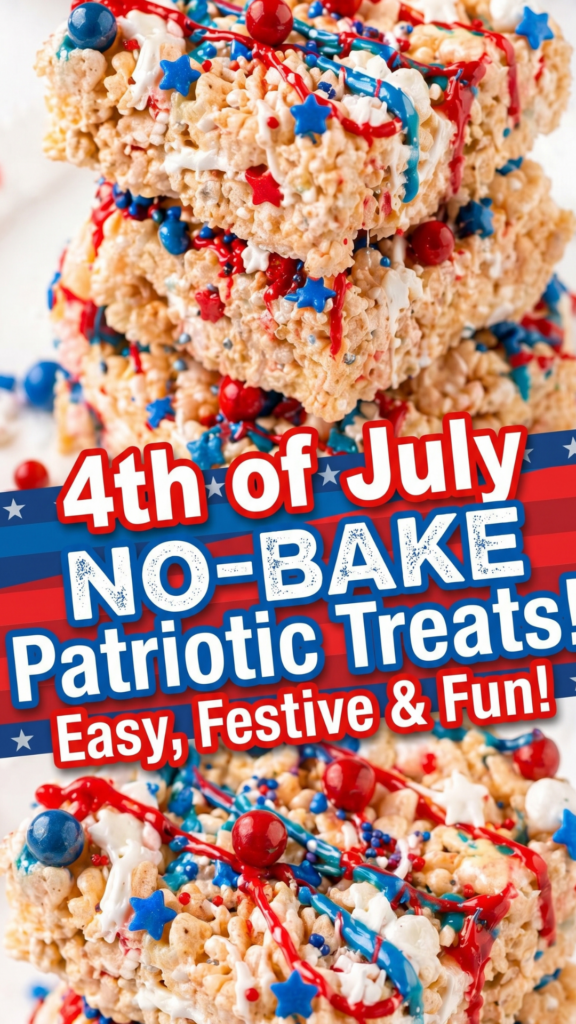
4th Of July Beach Snacks – Red White and Blue Rice Krispie Treats
Ingredients
Method
1. Prep the Pan
Line a 9×13-inch baking dish with parchment paper for easy removal later.2. Melt the Marshmallow Base
In a large pot, melt the butter over medium heat. Once fully melted, add most of the marshmallows (save about 1 cup for later). Lower the heat and stir continuously until everything turns smooth and glossy.Remove from heat and mix in the vanilla extract.3. Combine Everything
Add the cereal and the reserved marshmallows into the melted mixture. Stir gently until coated.Fold in about ½ cup of the M&M’s for that festive crunch.4. Shape & Decorate
Transfer the mixture into your prepared pan. Lightly press it into an even layer—don’t pack it down too hard.Sprinkle the remaining M&M’s and decorative sprinkles on top, pressing gently so they stick.5. Let It Set
Allow the treats to sit at room temperature for about 30 minutes until firm. Lift them out using the parchment and cut into squares.6. Add the Drizzle (Optional but Fun!)
Melt each color of candy melts separately in short bursts in the microwave, stirring in between.Drizzle over the cut squares for a festive finish. Let the coating harden before serving.Notes
💡 Expert Tips
- Use fresh marshmallows for the softest, chewiest texture
- Real vanilla extract = next-level flavor upgrade
- Press gently, not firmly—this keeps the treats soft, not dense
- Slightly damp hands help prevent sticking when pressing into the pan
- Want a richer taste? Swap in salted butter and skip the extra salt
❓ FAQs
How long do these stay fresh?They’re best within 2 days when stored in an airtight container at room temperature. Can I skip the candy melts?
Absolutely. They’re just for decoration—the treats taste amazing without them. Can I use different mix-ins?
Yes! Try chocolate chips, mini marshmallows, or even crushed cookies. Why reserve some marshmallows?
Adding them at the end gives you little gooey pockets—totally worth it.