
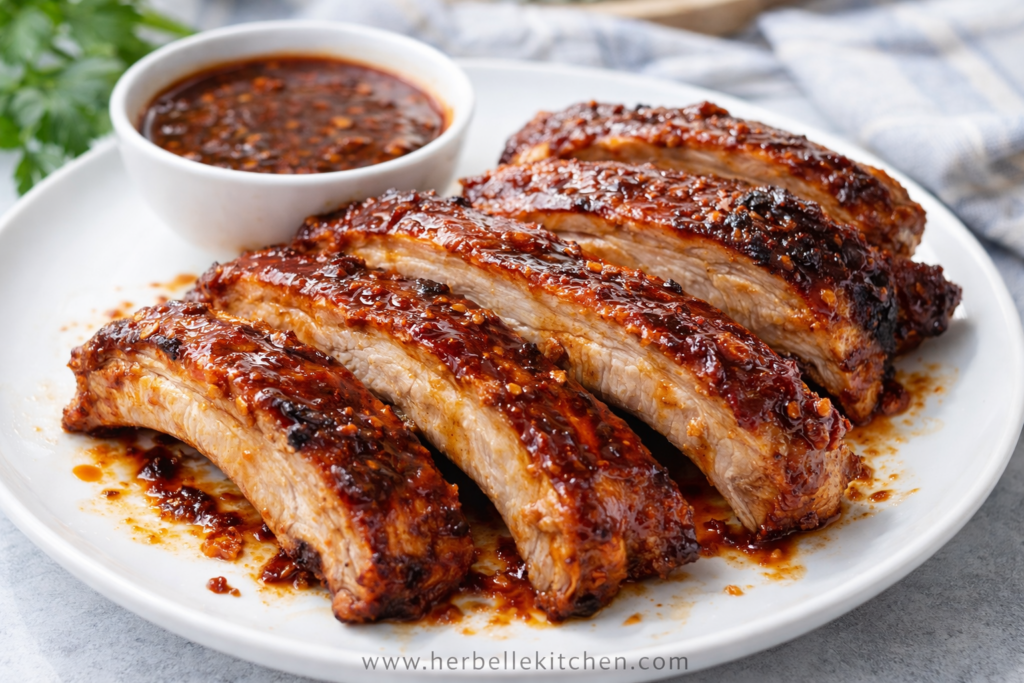
Some dinners are polite. These ribs are not. These Sticky Oven Barbecue Ribs show up glossy, saucy, unapologetically messy, and fully prepared to steal the spotlight at dinner. And honestly? That’s exactly the energy we want.
These aren’t just any Bbq Ribs In Oven situation. We’re talking juicy, tender ribs coated in a bold homemade barbecue sauce that’s rich, garlicky, a little spicy, and wildly addictive. As they bake low and slow, they turn beautifully tender, then finish with that sticky, caramelized glaze that makes people hover near the kitchen “just to check.” Sure. Totally believable.
The best part? You do not need a smoker, grill, or backyard barbecue setup that looks like it belongs on a cooking show. This recipe proves that the Best Way To Cook Ribs In The Oven can be simple, reliable, and outrageously delicious. So if you’ve ever wondered How To Cook Ribs In The Oven without drying them out or ruining dinner, you’re in exactly the right place.
These Oven Barbecue Ribs are ideal for lazy weekends, casual gatherings, game day spreads, or any time you want a dinner that feels a little dramatic—in the best way. They’ve got all the comfort of classic Baked Bbq Spare Ribs, but with a homemade sauce that tastes like you put in way more effort than you actually did. FYI: we love a low-effort flex.
And yes, this may look like a “special occasion” meal, but it’s also a surprisingly solid Easy Rib Recipe once you know the method. The oven handles most of the heavy lifting while you do something important, like pretend you’re not already planning leftovers.
Whether you’re searching for your next go-to Bbq Rib Recipe, testing the Best beef Rib Recipe vibes at home, or just craving ridiculously good Sticky Oven Barbecue Ribs, this one absolutely delivers. Grab napkins. A lot of them.
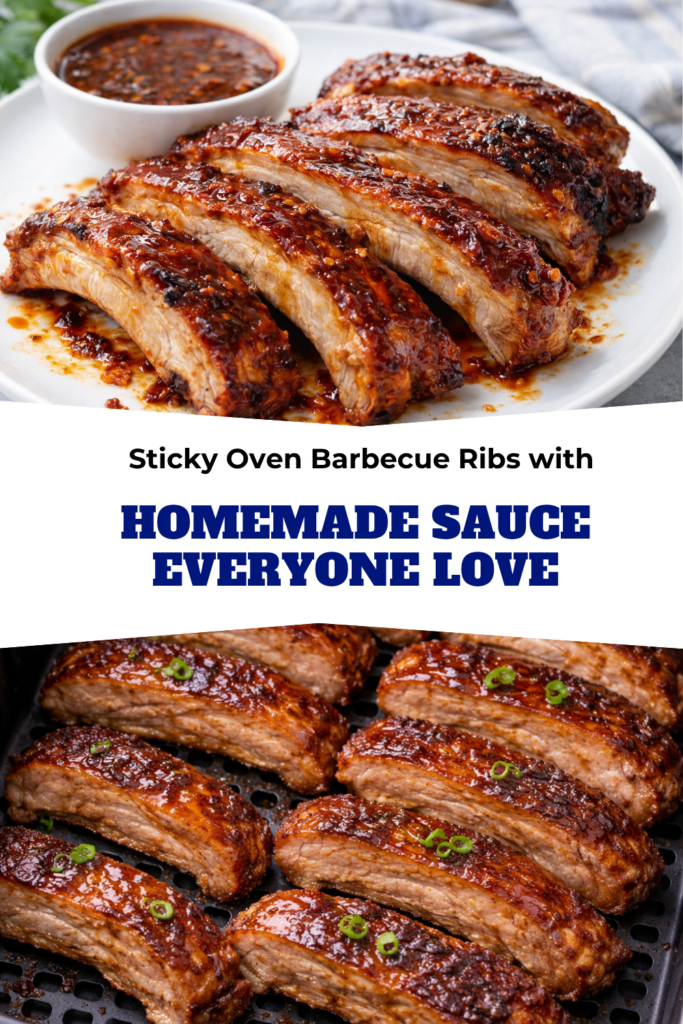
Easy BBQ Ribs in Oven with Sticky Homemade BBQ Sauce
Ingredients
Method
Step 1: Get the Oven Ready
Preheat your oven to 350°F (180°C).Line a large baking tray or sheet pan with foil or parchment paper to make cleanup easier later. Future-you will appreciate this.Step 2: Remove the Membrane
Flip the ribs over so the bone side is facing up.You’ll see a thin, tough membrane stretched across the back. Carefully loosen it with a knife, then pull it off with your hands or a paper towel for better grip.Don’t skip this part. Removing it helps the seasoning soak in better and gives you more tender ribs in the end.Step 3: Season the Ribs
In a small bowl, combine the garlic powder, onion powder, paprika, salt, black pepper, cumin, and chili powder or cayenne if you want a little extra kick.Place the ribs on your prepared tray and drizzle them with olive oil.Sprinkle the seasoning mixture generously over both sides, then rub it all over the ribs so every inch gets coated.Basically, give them the full flavor treatment.Step 4: Bake Low and Slow
Cover the tray tightly with foil and place it in the oven.Bake the ribs for 2 hours, allowing the meat to slowly tenderize until it becomes juicy and easy to pull apart.This is where the magic happens. No grill, no smoker, no drama.Step 5: Mix the Sauce
During the last few minutes of baking, stir together the barbecue sauce, minced garlic, olive oil, Worcestershire sauce, cayenne pepper (if using), and salt in a bowl.The sauce should be rich, bold, and ready to turn your ribs into something seriously irresistible.Step 6: Sauce and Finish
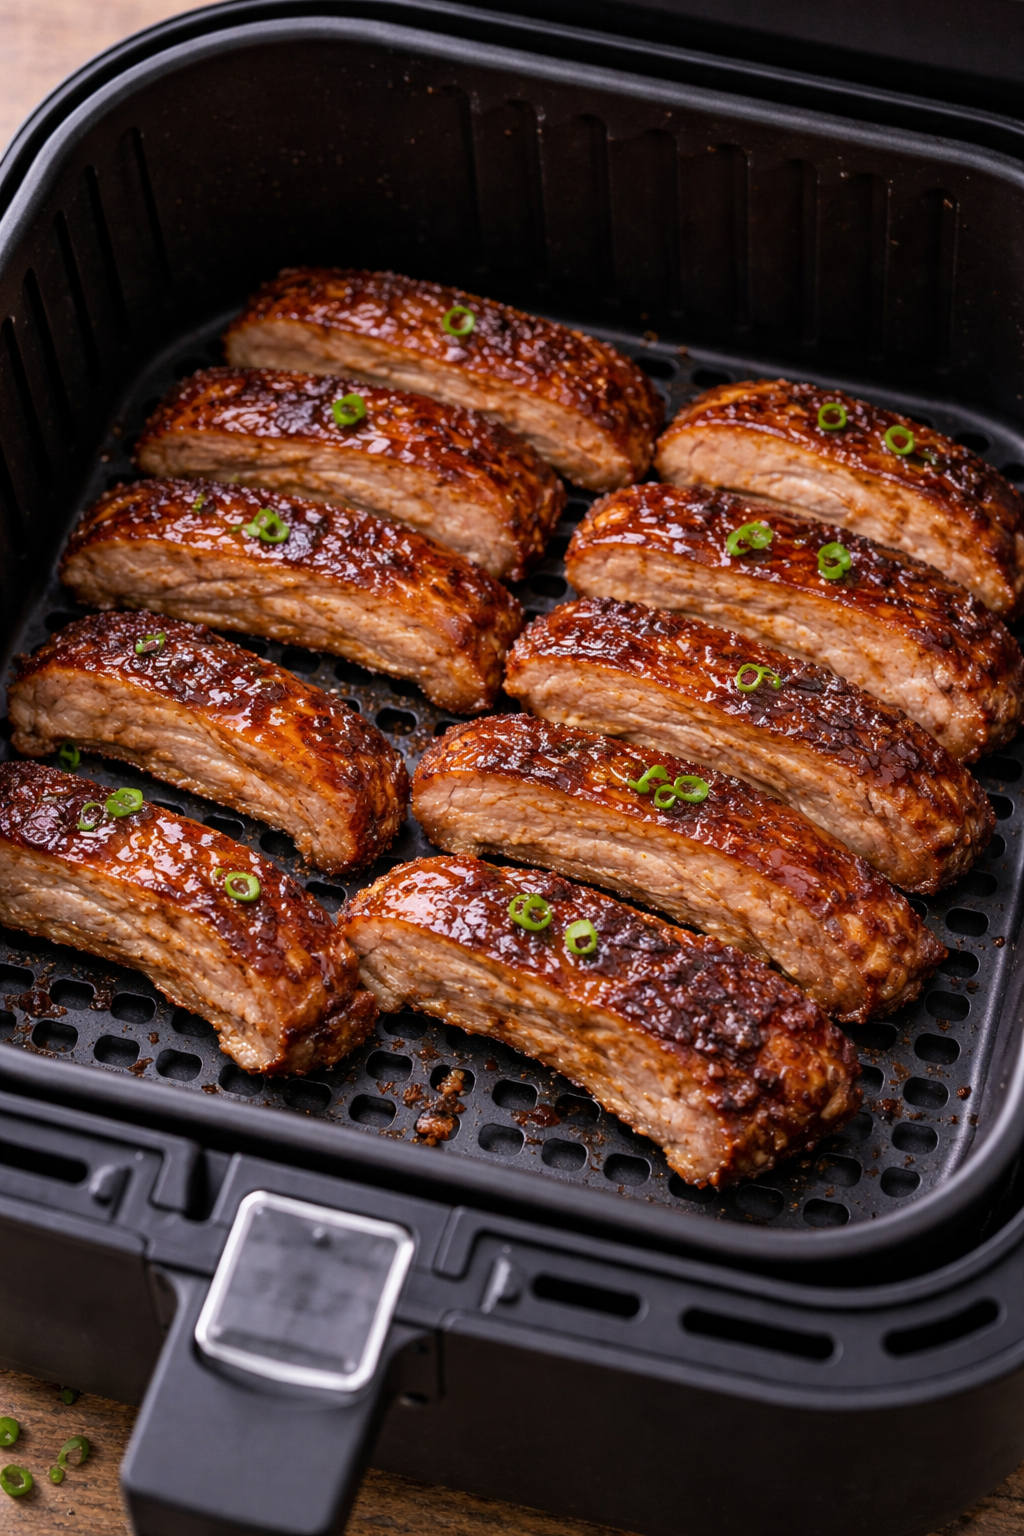
Take the ribs out of the oven and carefully remove the foil.Brush or spoon the barbecue sauce mixture generously over the top of the ribs.Then increase the oven temperature to 460°F (240°C) and return the ribs to the oven uncovered for another 10 minutes.This step helps the sauce thicken and cling to the meat.Step 7: Broil for That Sticky, Caramelized Finish
Switch your oven to broil (or grill setting) on medium-high.Broil the ribs for about 2 to 5 minutes, just until the edges start to char slightly and the sauce turns glossy and caramelized.Keep a close eye on them here—the line between “perfectly sticky” and “oops, charcoal” is very short.Step 8: Let Them Rest
Once the ribs are done, take them out of the oven and let them rest for 10 minutes before slicing.This gives the juices time to settle back into the meat instead of running all over your cutting board.And yes, waiting is rude, but worth it.Notes
Quick Tip for the Best Texture
Want crispier edges?
After saucing the ribs, don’t skip the broil step. That final blast of heat is what gives them that beautiful sticky, caramelized finish everyone fights over.Serving Ideas
These ribs are amazing on their own, but they pair beautifully with classic comfort-food sides like:- Coleslaw
- Corn on the cob
- Potato salad
- Mac and cheese
- Baked beans
- Garlic bread