Ingredients
Method
1. Start with the Base
Lay one slice of crustless bread flat. Spread a thick, even layer of whipped cream (about ½ cup).Tip: Don’t skimp—this helps hold everything in place.2. Arrange the Strawberries
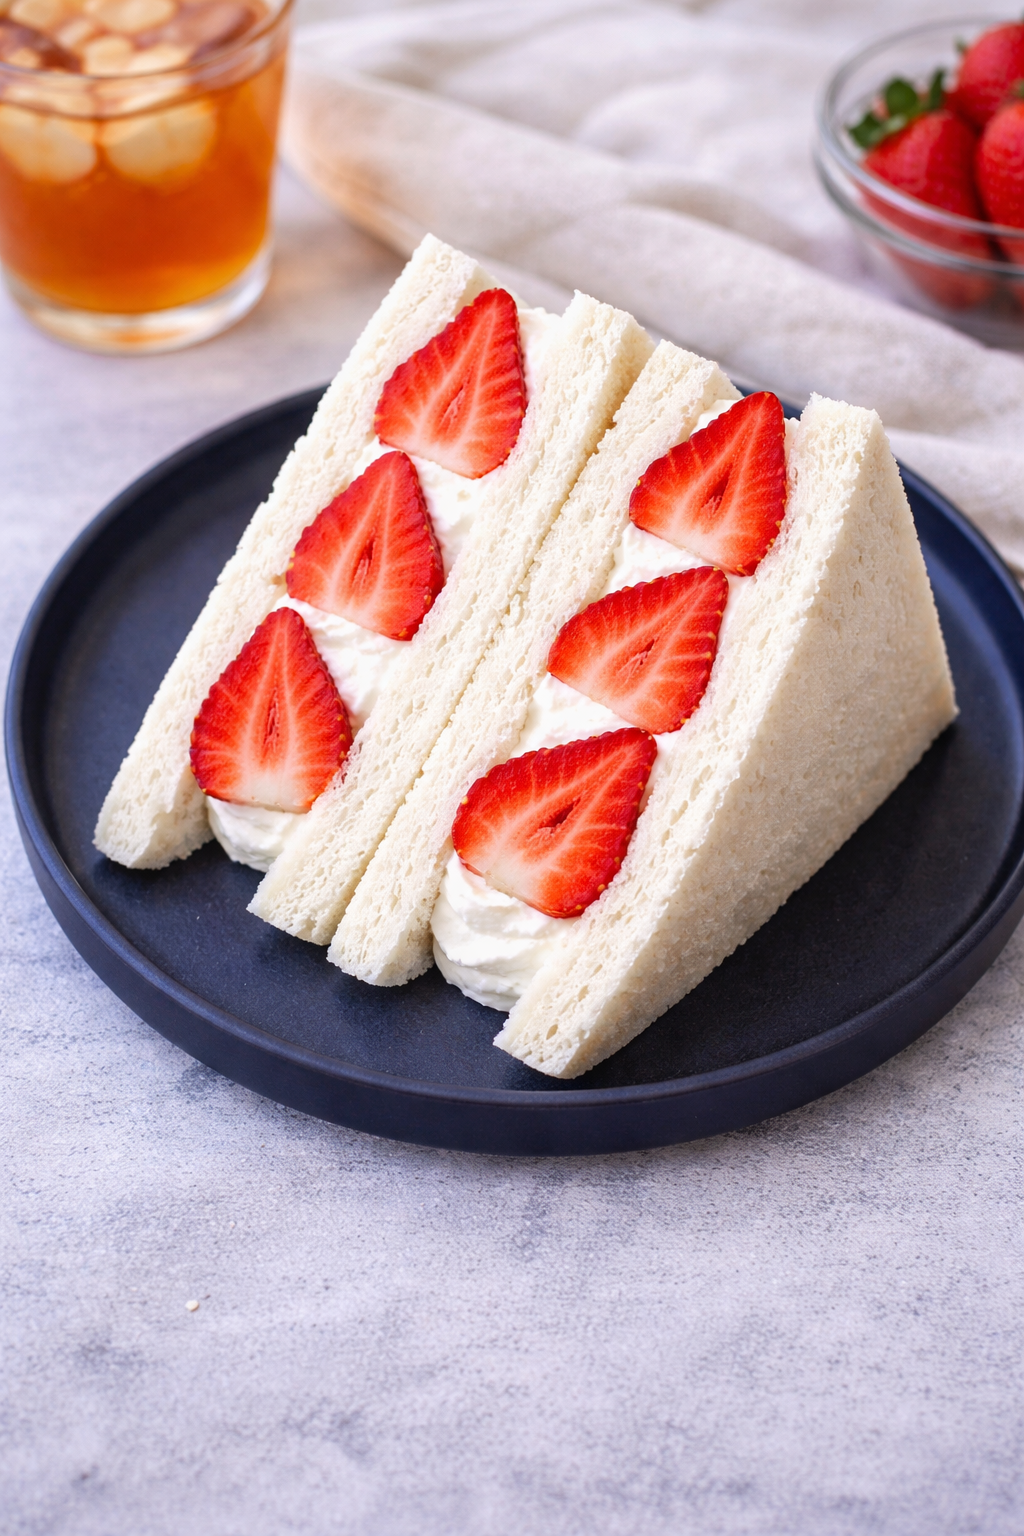
Place strawberries diagonally across the bread in a neat line, all facing the same direction. Add extra strawberries on the sides to fill any gaps.This step = that signature pretty cross-section later.3. Cover with Cream
Spoon another layer of whipped cream over the strawberries, making sure they’re fully covered and surrounded.4. Seal the Sandwich
Place the second slice of bread on top and gently press down to secure everything.5. Wrap & Chill
Wrap the sandwich tightly in plastic wrap. Use a marker to draw a diagonal line on the wrap—this shows where to cut later. Chill in the fridge for at least 1 hour.6. Slice & Serve
Unwrap and slice along the marked line. Reveal that beautiful strawberry pattern and serve immediately.Notes
🍽️ Serving Suggestions
- Serve chilled for the best texture
- Pair with matcha latte or iced coffee
- Add powdered sugar for a bakery-style finish
- Perfect for brunch boards or cute dessert platters
🔥 Expert Tips
- Use soft, fresh bread for that authentic texture
- Chill before slicing—this keeps the shape clean
- Align strawberries carefully for that aesthetic cut
- Whip cream to stiff peaks if making from scratch
❓ FAQs
Can I use other fruits?Yes! Mango, kiwi, or peaches work beautifully. How long can I store it?
Best eaten the same day, but can last up to 24 hours refrigerated. Can I make it lighter?
Try using low-fat whipped cream, but texture may be softer. Why wrap it tightly?
It helps the sandwich hold its shape and slice cleanly.